DIY Reversible Bunting Garland
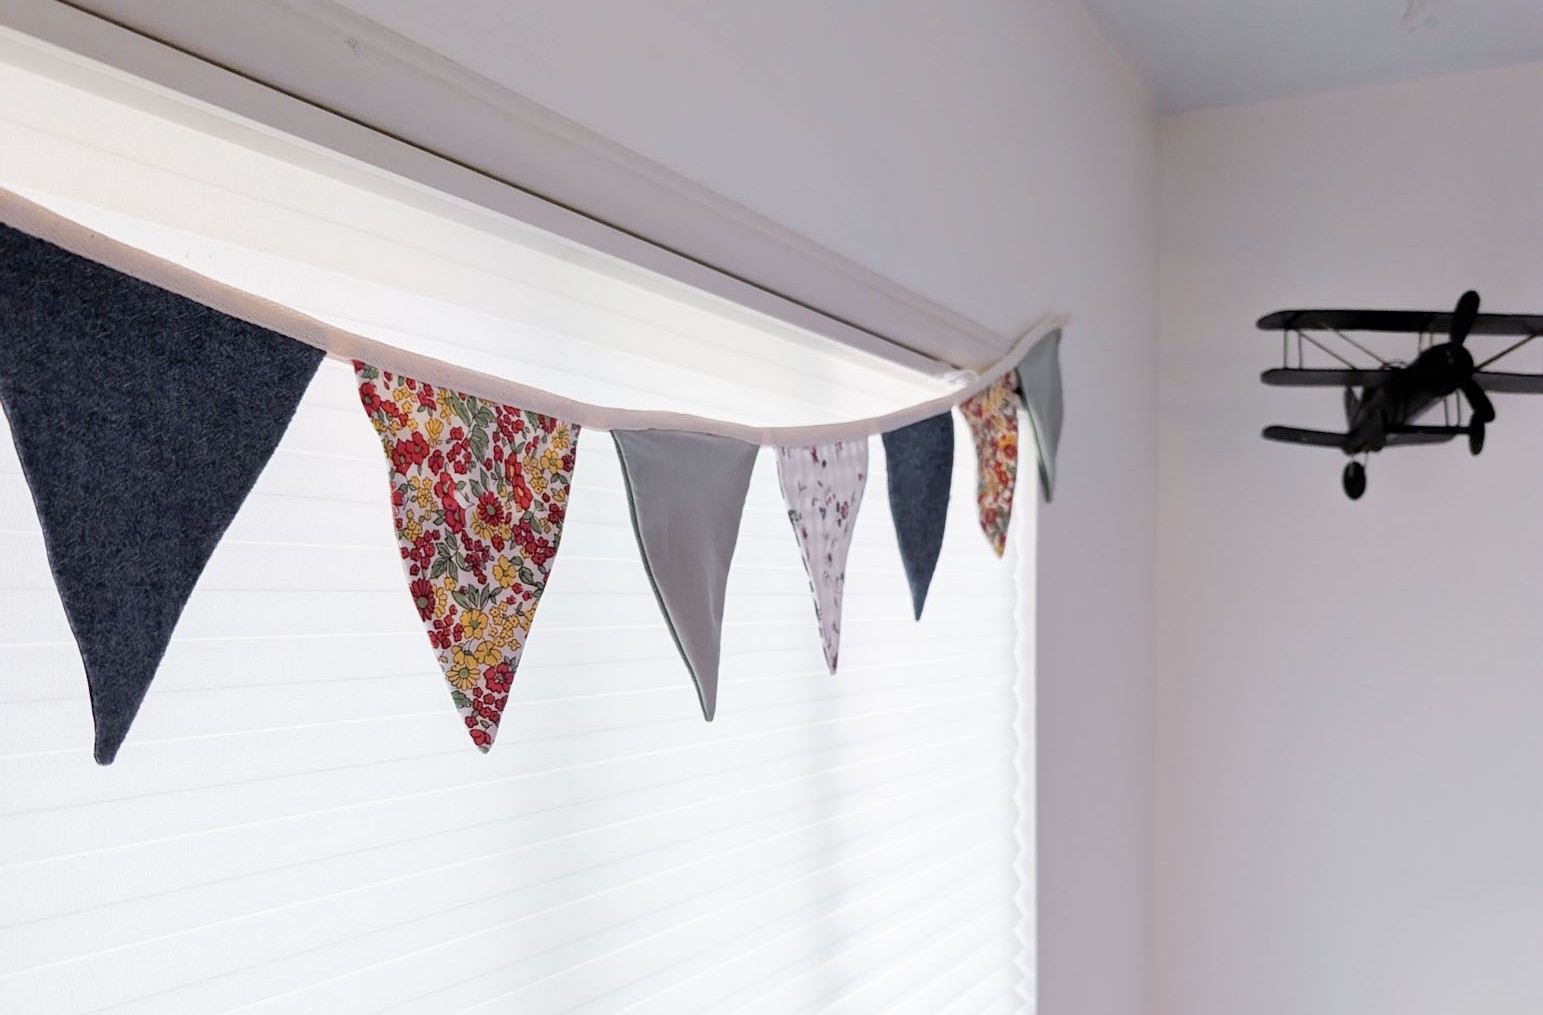
I love the look of bunting garlands and, as someone who sews, have wanted to try making one for a while. I recently decided to pull out my fabric scraps and give it a go. And I decided that I would make mine a diy reversible bunting garland.
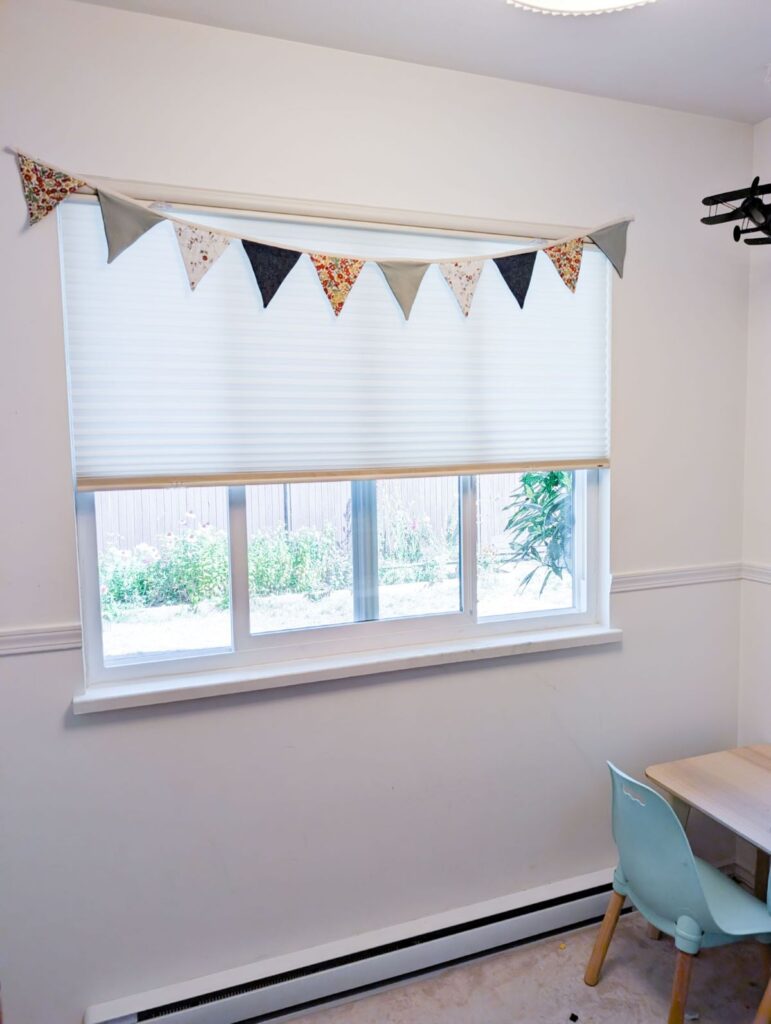
Our playroom walls have been very bare since we moved almost a year ago. The space above the big window seemed like the perfect spot for a bunting banner. But I didn’t want to have to try to find fabrics that worked for every season. I also didn’t want to have to make another one to swap out when the season changed. So I decided to make one side with spring/summery fabrics and the other side with more fall/winter toned fabrics. It was going to have to have fabric on either side anyways. Why not just make two garlands out of one?
Choosing My Fabrics
The first thing to do was choose my fabrics. This turned out to be more complicated than I expected. I wanted the colors to match the space and I also wanted a mix of solids and patterns. Initially I chose some fabrics, tested them in the room, and then started to cut them out and put them together before realizing I wasn’t sold on the combination. I ended up removing one of the patterned fabrics and replacing it with another one. I’m so glad I did.
For my spring/summer garland side I chose a light sage green, a jean blue, a bright red and yellow floral, and a small red, yellow, and blue floral on a white background. The reds and yellows of the two florals compliment each other nicely and the green and blue match with bits of either one or both to tie it all together. The red and yellow floral is a bit bolder than more of the décor in our home but it’s also my daughter’s favorite pattern in the garland, and it livens up the space.
For then fall/winter side I chose a chocolate brown, a deep forest green, a beige and brown plaid, and a black and white gingham (I needed to have gingham in there somewhere, I love it so much). It’s a beautiful, rich, earthy mix of colors that will give the space some warmth.
Making a Pattern and Cutting Out the Flags
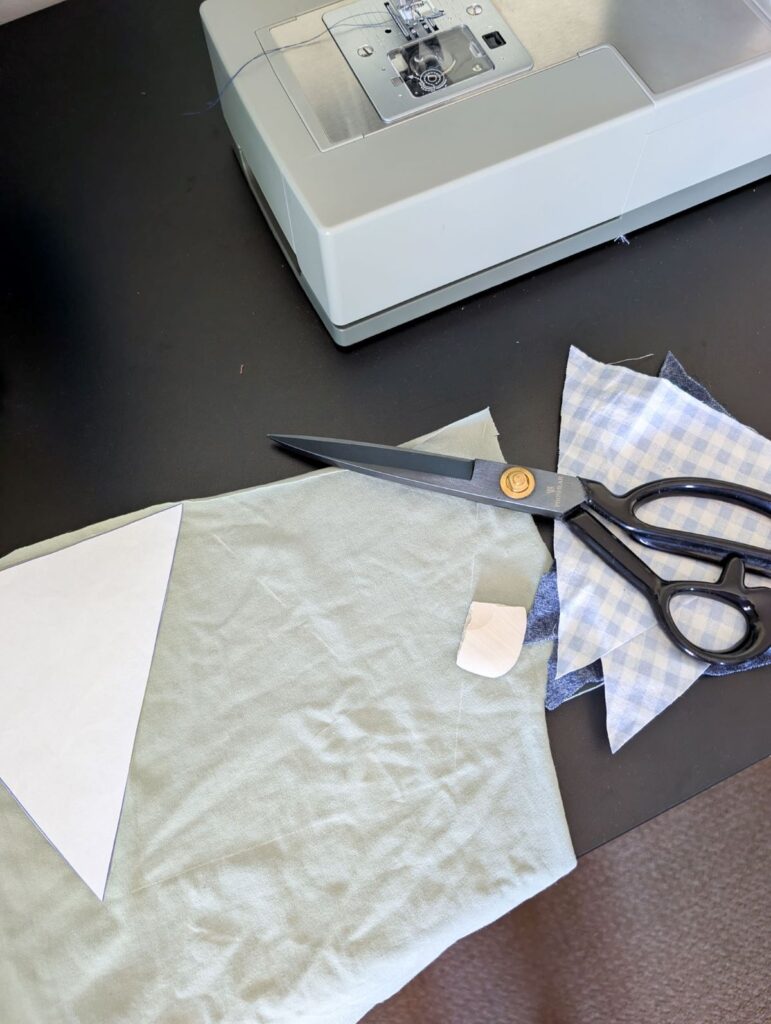
I then figured out how big I wanted my triangles, or flags, to be and made a paper pattern to use to cut out my fabric. Mine measured 6 3/8″ for the short side, or the bottom of the triangle, and 7 3/16″ on the two long sides. I used a combination of white tailor’s chalk and my water erasable pen to trace out the flags and then cut them out with my fabric scissors. The window in the playroom is approximately 60″ and I wanted a bit of drape so I went with a total length around 65″. To get this length, I ended up with two flags of each fabric and three of one, a total of 18 flags for the two sides.
Sewing the Flags
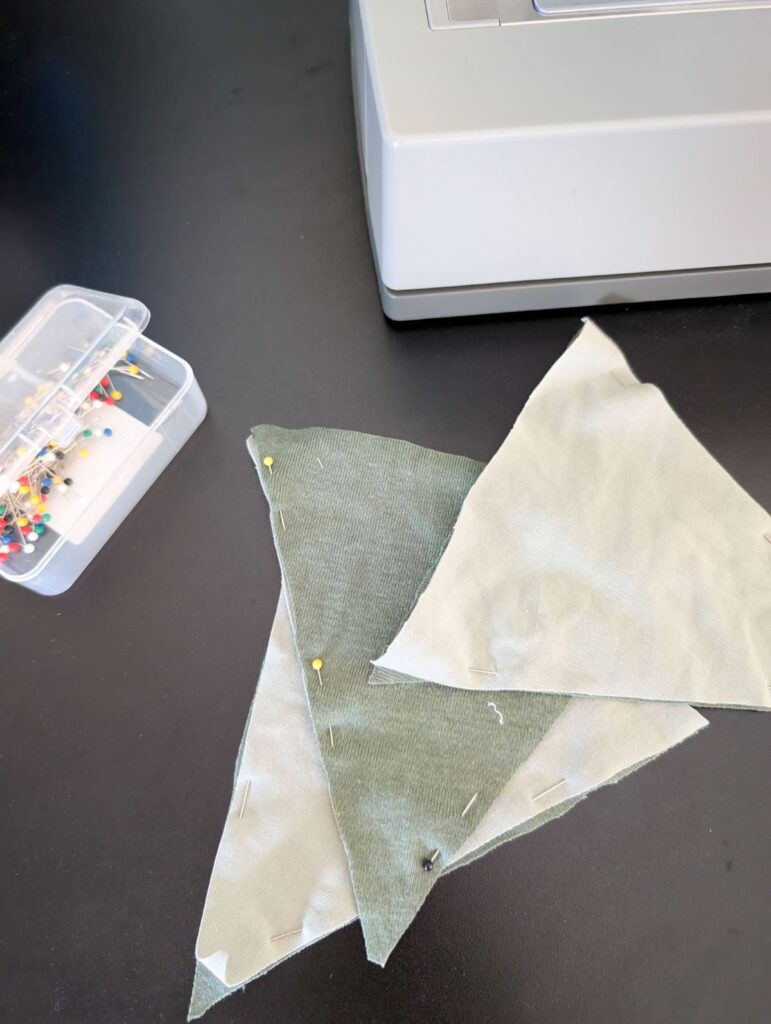
The next step was the fun part: sewing the flags together. I kept my seam allowance pretty small, about 1/4″, because I liked the size the flags were when I cut them out. Once they were sewn together I clipped the corners and turned them inside out before pressing them. I was left with a small pile of cute little flags just waiting to be strung together.
Putting The REversible Garland Together
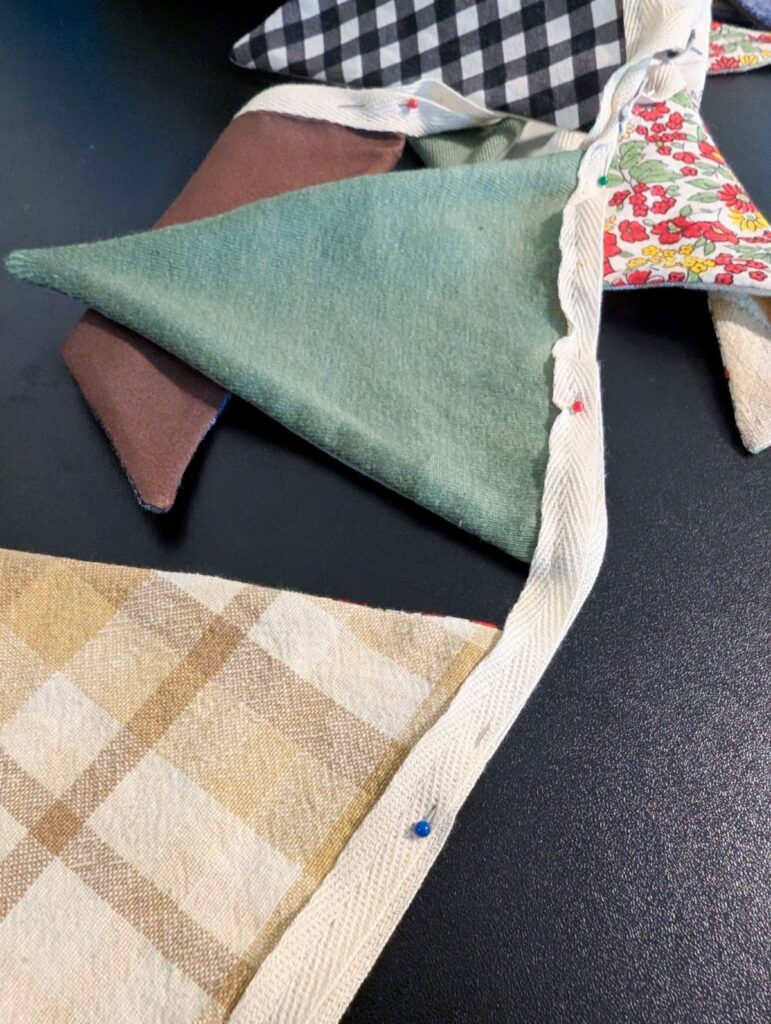
I bought a roll of twill tape a little while ago and knew right from the beginning that I was going to use it for my garland. It’s not very thick though so I had to use two strips and sandwich the flags between them to get the look I was going for. I cut them approximately 69″ long so I’d have some extra on either end to finish the ends of the garland. Then I lay out my flags on top of one of the strips of twill tape, leaving about 1/2-1cm between each flag, and pinned them in place. I used a basting stitch to attach the flags to the twill tape so they would stay in place when I sewed the other strip on top.
This part went pretty smoothly…except that three of my flags were made of knit fabric and started to stretch when I tried to baste them. I had used a walking foot to stitch them together but not to attach them to the twill tape, which would have solved my problem. Fortunately, I had enough twill tape at the end that it worked out okay.
The last step was to put the other strip of twill tape on top and stitch it all together. This enclosed the flags and gave the garland a neat finish. I then enclosed the ends of the twill tape and my diy reversible bunting garland was ready.
The Result
I’m really happy with how this little project turned out. It was relatively simple too, aside from dealing with the knit fabrics I chose. It adds a nice touch of color and livens up the space while we work on fleshing out the rest of the room, which will double as a homeschool room in the fall.
I hope you enjoyed seeing the process of putting this diy reversible bunting garland together, and maybe gave you the inspiration to try making one yourself.
Bes of luck on your sewing journey,