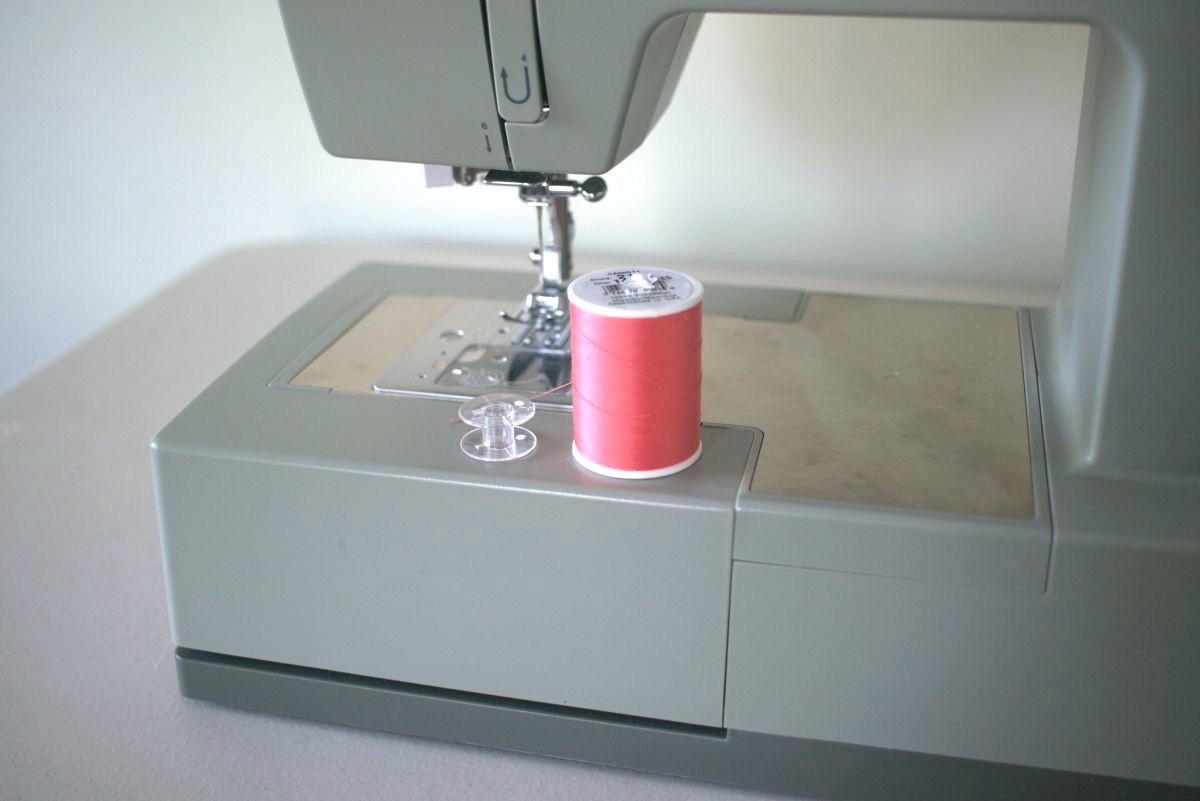
How to thread a sewing machine step by step
This post contains affiliate links. If you use one of my links and purchase something I may earn a commission – at not extra cost to you. You can read my disclosure policy here.

Figuring out how to thread a sewing machine was one of things that scared me the most when I first thought about learning to sew. It just seemed so complicated and confusing. Why does there have to be so many steps to it?
Once you’ve had some practice with it you’ll realize it’s not actually that hard to do. I’ve gotten so used to threading my machine that I can change the thread very quickly if I’m going back and forth between projects. I’ll show you how I thread my machine to give you an idea of how it’s done and hopefully make you feel more confident about this part of sewing.
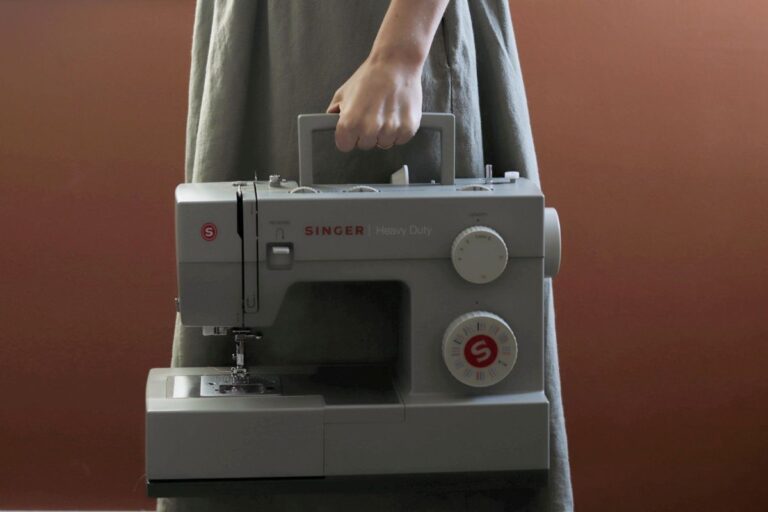
If you have a manual for your machine you can refer to it for exactly how to thread your specific machine. If not, see if you can find a video to walk you through it. Let’s take a look at how my Singer Heavy Duty sewing machine is threaded:

Winding the bobbin
Before you even start threading your machine you’ll want to make sure you have a bobbin wound with the same thread that you’ll be threading into your sewing machine. To do this you’ll need to set your machine up to wind an empty bobbin. Don’t worry, it’s actually really simple! This is how I set up my machine for winding the bobbin:

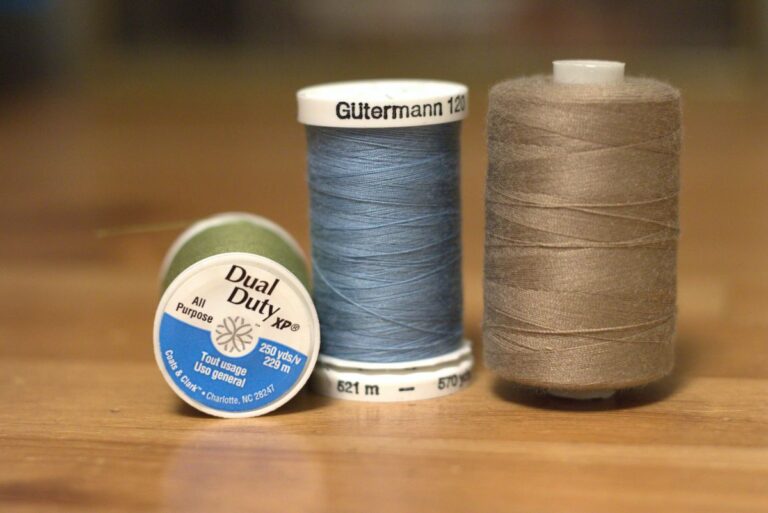
Put the spool of thread onto the spool holder with the thread coming from the back. There should be a cap you put on after your spool to keep it from sliding off while you’re sewing.

Floss the thread into the first thread guide at the top of the machine

Loop the thread clockwise around the winding tension disc sitting towards the front of the machine.
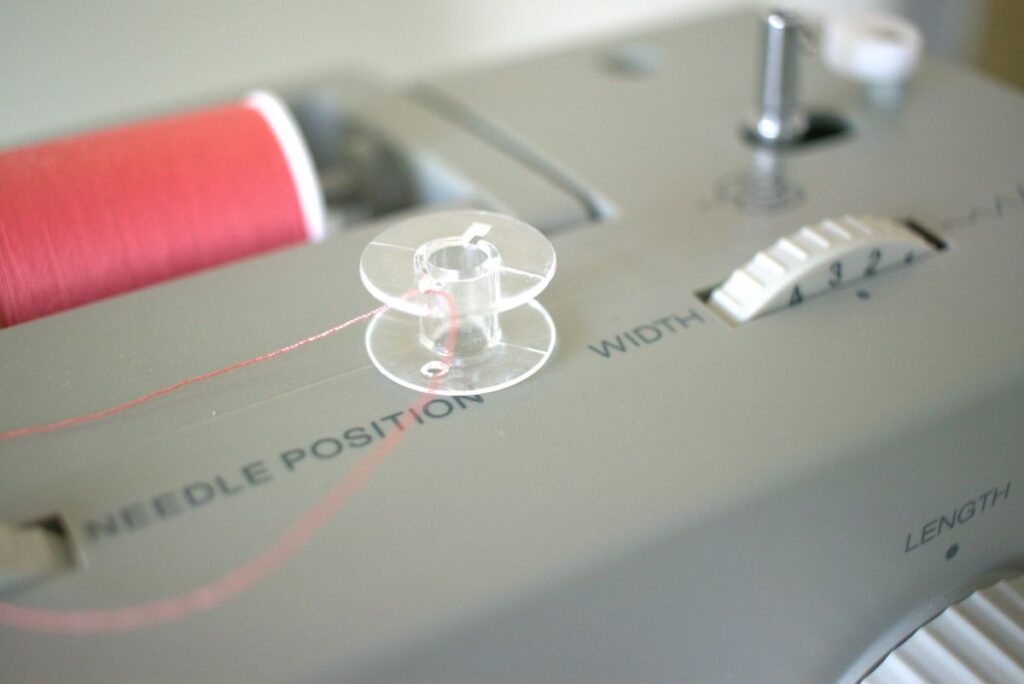
Take an empty bobbin and put the thread through the little hole at the top of the bobbin. There should be one on either side, just make sure the thread is sticking out the top.

Push the bobbin onto the bobbin winder on the far end of the machine. It should click into place. Then, push the bobbin winder to the right as far as it will go.
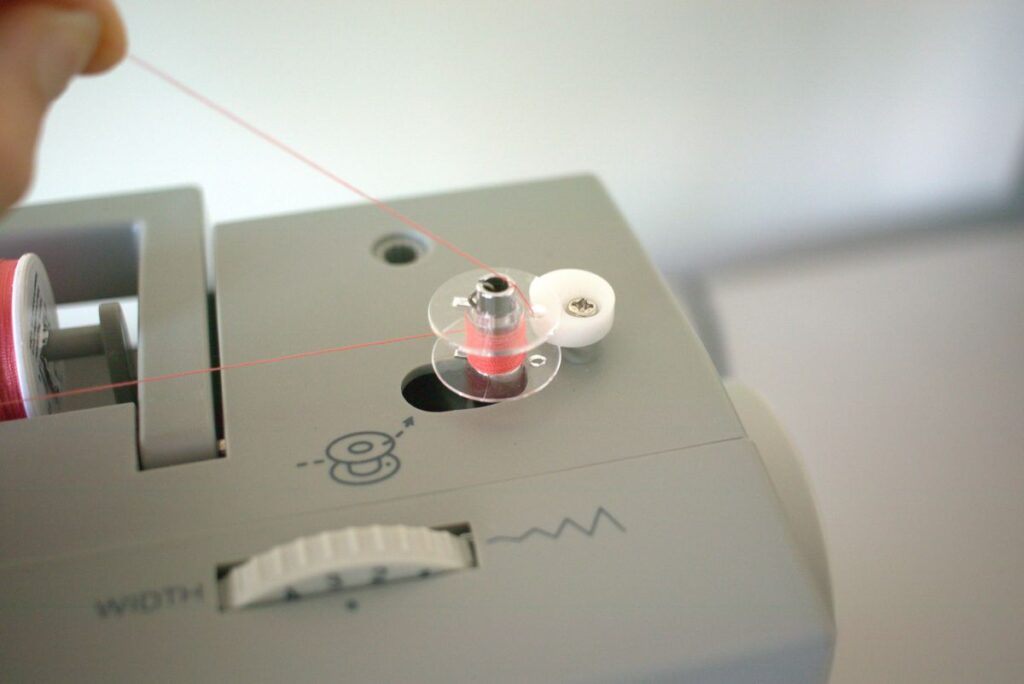
Hold the end of the thread coming out the top of the bobbin and slowly push down on the peddle. This will cause the bobbin winder to spin, winding the thread around the bobbin. If you let go of the thread, it might get pulled out of the little hole and your thread won’t wind properly. So make sure you hold it tight!

After a couple seconds let go of the thread and cut it flush with the bobbin.

Push down the peddle again and continue winding the thread until the bobbin winder stops spinning. The machine will detect when the bobbin is full and stop winding automatically.

Cut the thread from the main spool leaving a tail of a few inches.
That’s it! Now your bobbin is ready and you can start threading your machine.

threading the needle
This is the most complicated part of the threading process but with some practice you’ll get the hang of it in no time!

Turn the hand wheel and raise the needle to the highest position. This will allow you to thread the take up lever and the needle later.

Floss your thread into the first little thread guide at the top of the machine and then pull it around the second thread guide so the thread is going towards you.

Take it down the little groove in the front, then do a U-turn and go back up towards the top of the machine where the take up lever is.

Floss the thread into the take up lever and then take the thread back down the same way you just brought it up.

Slip the thread into the guide in front of the needle.

Then pass it behind the smaller guide just above the needle.

Put the thread through the eye of the needle from the front and pull a few inches of thread to create a tail. If your tail is too short the needle will unthread when you start sewing and you’ll have to rethread it.
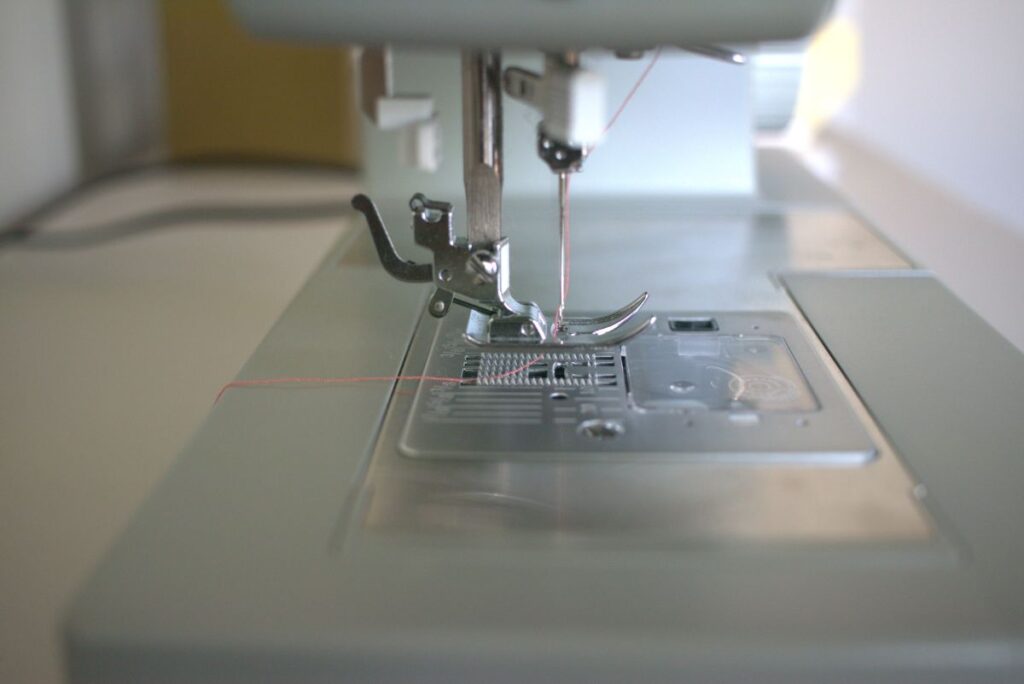
Is There a Trick to Threading the Needle?
If you find threading the needle with your fingers to be a bit finicky you can check if your machine has a threader. My machine has a threader built in for helping you thread the needle. This is how you would do it:

Lower the pressure foot and press the threading lever down as far as it will go.

Insert the hook of the threader into the eye of the needle by gently pushing the lever back a little till the hook can pop in place.

Loop the thread around the larger hook and then pull the end till it sits just under the hook inside the needle eye.

While holding the thread, move the threader back to pull the hook out from the eye of the needle. It will catch the thread you’re holding under it as it comes out, pulling the thread into the eye and creating a loop at the back.

Pull the loop to pull all the thread into the needle and then raise the presser foot.

Now all that’s left to do is thread the bobbin! This part is much easier, don’t worry.
Threading the bobbin
What Type of Bobbin Should You Use?
Yes, there are different types of bobbins. I know, just when you thought it was complicated enough.
There are three styles of bobbins: A Style, L Style, and M Style. A Style, also called “Class 15” are the most common ones used in domestic machines. L Style are the smallest ones, typically used in commercial machines. M Style are the largest ones and are usually used in long-arm quilting machines.
Then there are metal and plastic bobbins. Some machines run better with the plastic while some prefer metal. The best why to find out which type and material of bobbin to use is to check your sewing machine manual. Or, if it comes with bobbins then use those and find more of the same kind when you need more. If your machine didn’t come with a manual you may have to do a little experimenting to find what works best. Some bobbins won’t fit properly and you’ll know right away that they won’t work. If the bobbin is rattling around in the machine it’s probably too small. It should easily slip in and have just enough room to spin round.

Loading and Threading the Bobbin
Different machines have different places where the bobbin will go. Most machines have what’s called a top loading bobbin. This means that the bobbin sits in the top of the machine where you can see it while you sew. Other machines have what’s called a front loading bobbin where the bobbin sits vertically in the machine. There are some differences to how you would thread them. If you have a front loading machine, check your manual or you can check out this article on how to do it.
My machine is a top loader and threading the bobbin is very simple:

Pop open the plastic covering and place your bobbin in the bobbin case with the thread going counter-clockwise.
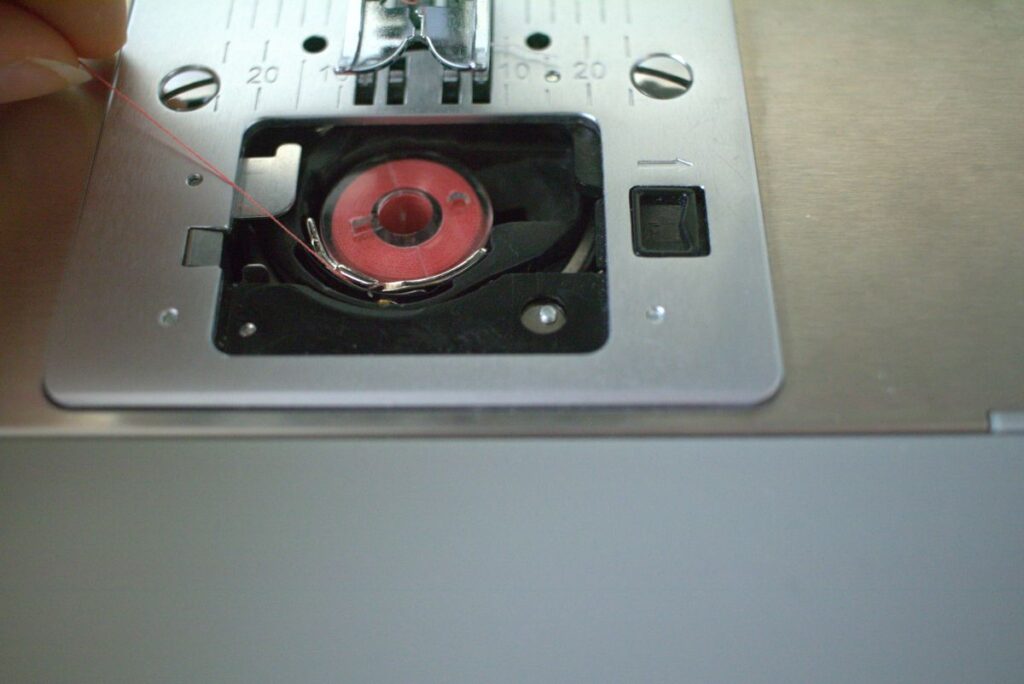
Slip the thread into the little hook on the left of the bobbin case and lay it going towards the back of the machine.
Pick up your needle thread and hold onto it while you raise the presser foot. Keep holding it as you turn the handwheel towards you so the needle starts to go down.

Keep turning till the needle comes back up again. As is goes down into the machine it will catch the bobbin thread.

Using a chopstick or the end of your snipping scissors, push the threads coming up out of the machine towards the back till you have two tails of thread a few inches long.

Your machine is now threaded and all set to start sewing! Each time you change the thread you’ll be repeating these steps. I know it feels like a lot but it will get easier each time you do it. Before you know it you’ll have the steps memorized and won’t even have to think about it.
Which part of threading your sewing machine is (or was) the most daunting to you? Leave a comment and let me know!