Sewing machine settings
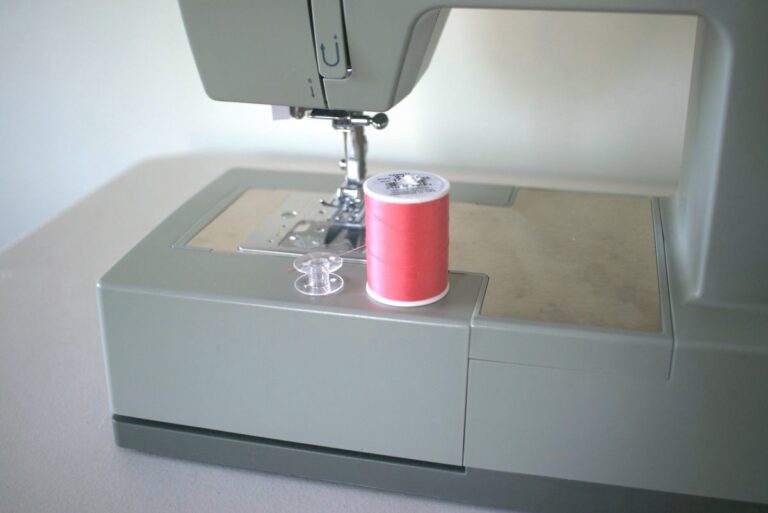
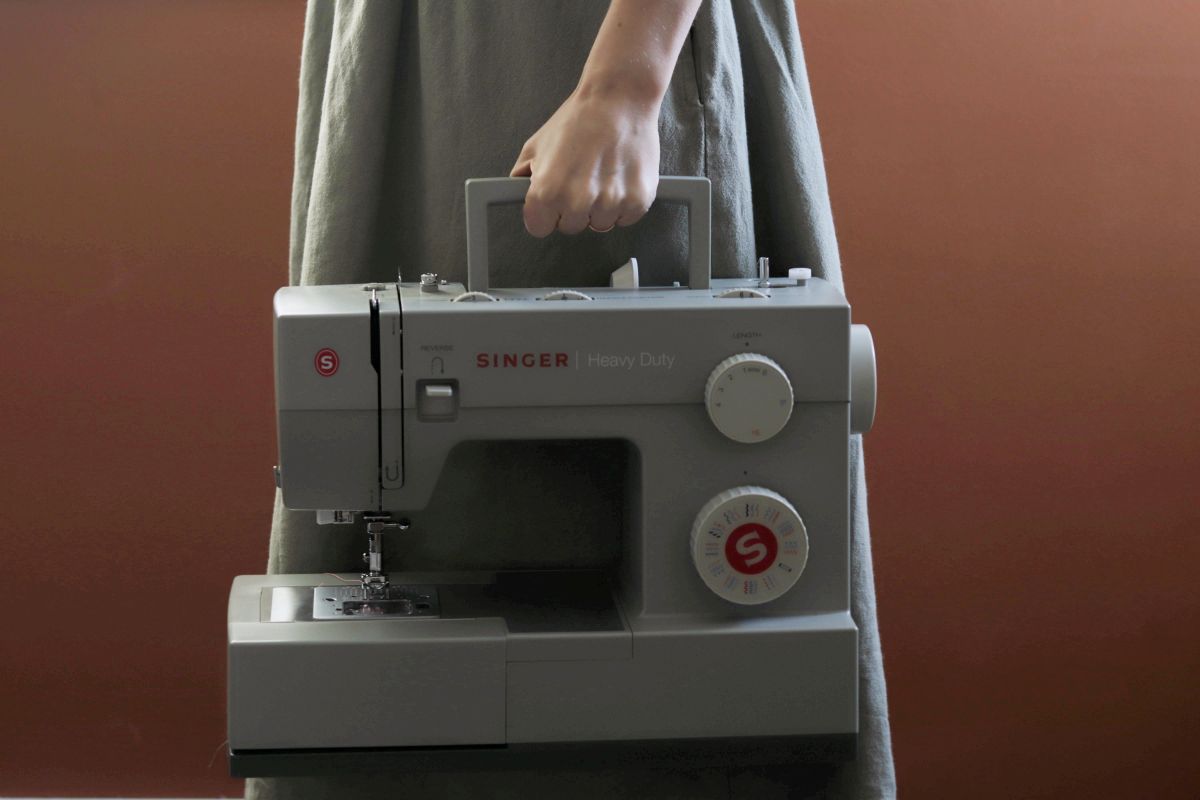
When you first get your sewing machine you probably notice all the knobs and buttons and dials on it. You know they all have some kind of important function, but what do they really do?
It can be a little confusing at first, especially if you got your machine second hand and you don’t have a manual for it to explain things. Even if you do have the manual it can still be hard to understand what changing the thread tension does for your sewing. I’m going to walk you through the different settings on a sewing machine and explain what they do for your sewing so you know when and how to use them.
Sewing machine settings and parts
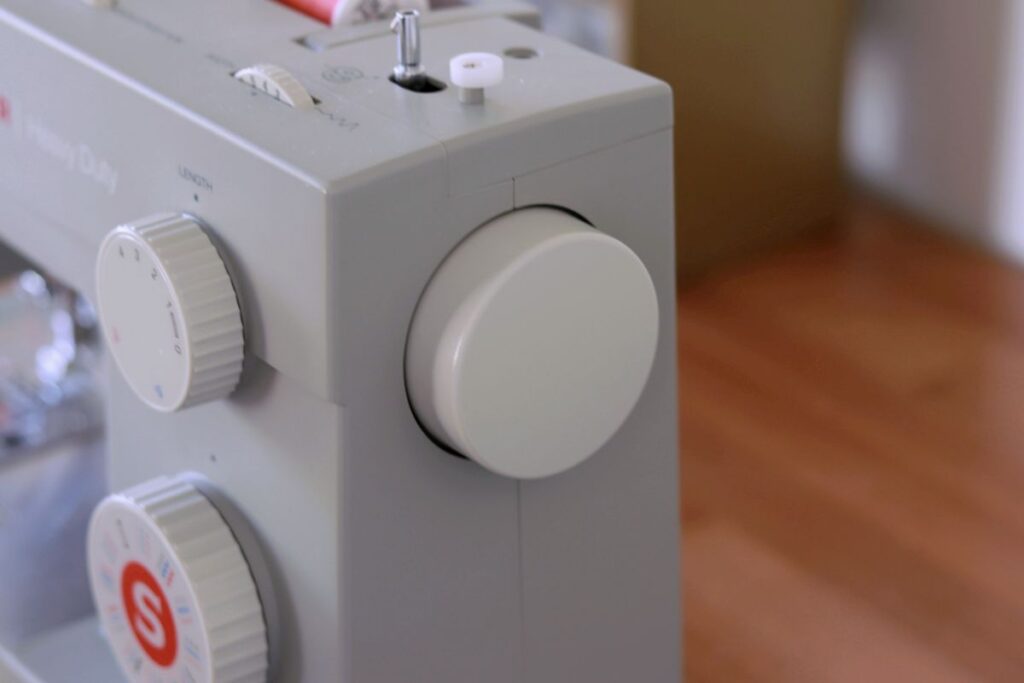
Hand Wheel
You probably noticed the large wheel on the side on your sewing machine opposite your needle. This is the hand wheel. When you turn it, the needle goes down into the machine and back up again. You’ll use this for manual sewing, when you need to be slow and precise for things like pivoting and difficult or bulky areas. As a beginner, using this trick can be really helpful but even as a more experienced sewist you’ll find this part of the machine to be a huge help. I like to use the handwheel to put my needle into the fabric when I start sewing a seam. That way, everything stays where I want it while I get ready to press down on the peddle.
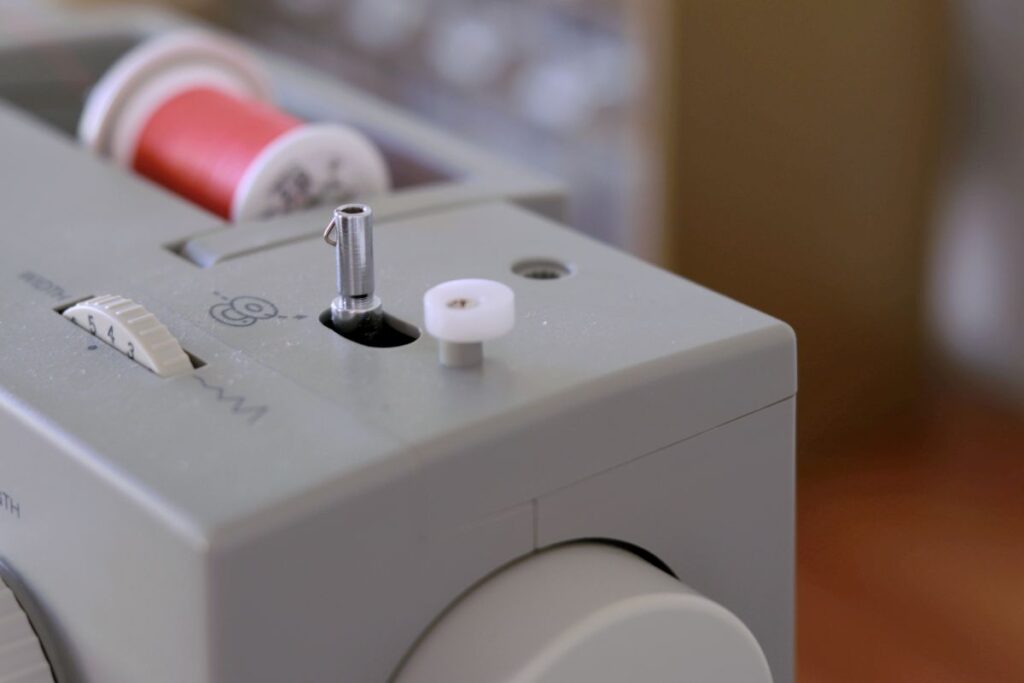
Bobbin Winder
When you start using a new spool of thread in your machine you’re going to need to wind a bobbin with the same thread. The bobbin winder is where you put your bobbin to wind the thread onto it. I wrote a whole post on threading you machine including how to wind a bobbin, you can check that post out here.
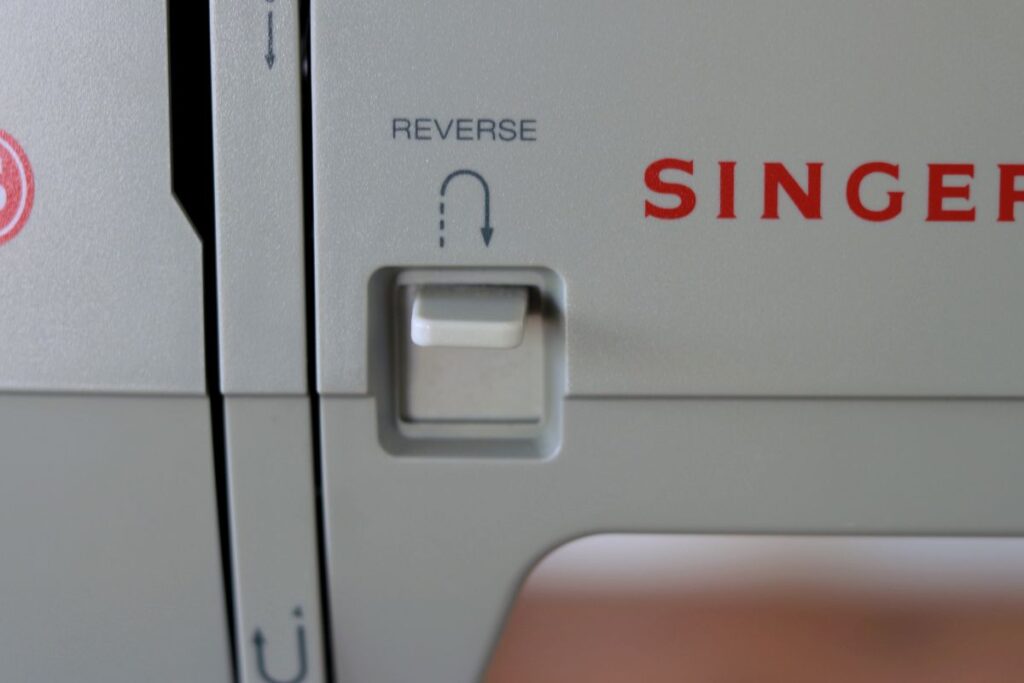
Reverse Button
This is a very important part of your sewing machine. It may be an actual button or it could be a a sort of lever that you push down like on my machine. When you push it, instead of sewing forwards your machine will start sewing backwards or in reverse. Why this is so important is because this is how you lock your stitches in place so they don’t come undone. Every time you start a new seam you will go forwards 4-5 stitches, go back in reverse over them, and then continue sewing forwards again, locking those first stitches in place and protecting your seam from unraveling.
There are times, such as with darts or gathering stitches, where you won’t backstitch but as a general rule you want to make sure you do this at the beginning and end of every seam.
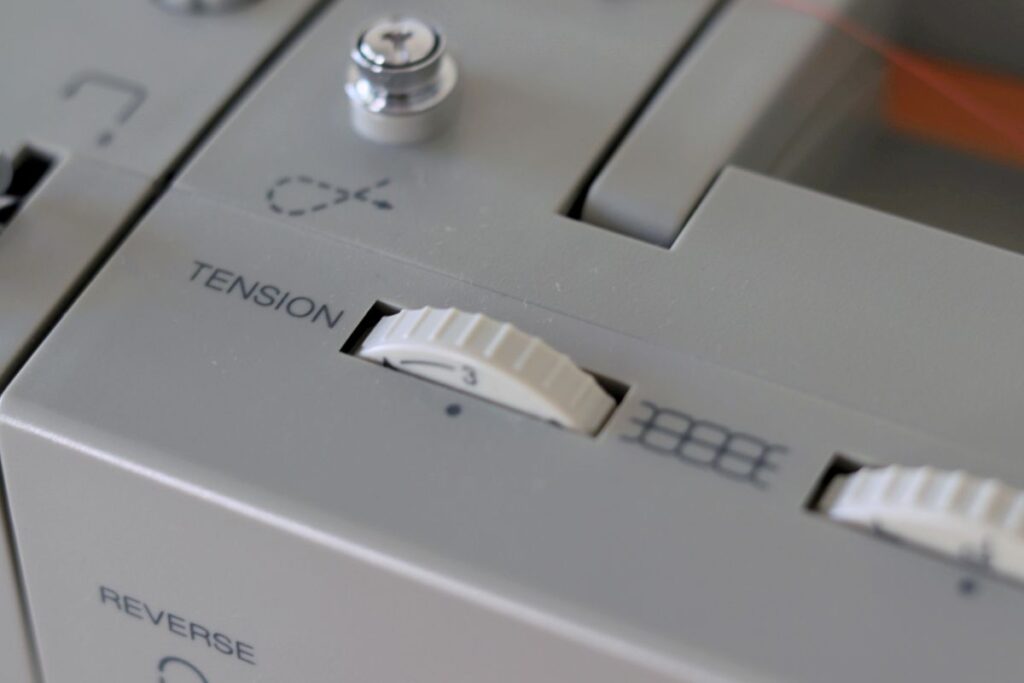
Stitch Tension
This dial will change the tension between your upper and lower threads (your needle and bobbin threads). This video is helpful for understanding what the tension is and how it affects your sewing. You shouldn’t need to adjust this hardly at all, unless you notice the bobbin thread showing up on top or vice versa. If you grab a scrap piece of fabric and two different colored threads, one for the bobbin and one for the needle, you’ll be able to clearly see if your sewing machine tension is meeting up in the middle of the fabric like it should or if it needs a little adjusting.
The tension dial is only for the upper thread. The lower, or bobbin thread, is usually set by the factory and you won’t need to touch it.
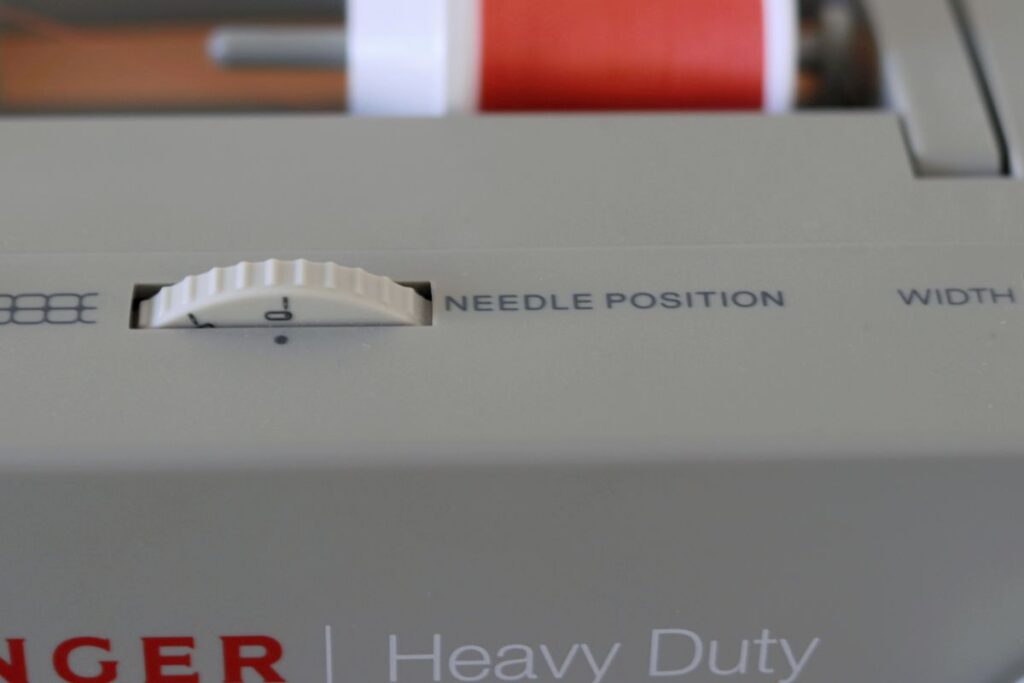
Needle Position
There are three settings on this dial. The one on the left moves your needle to the left, the one on the right moves it to the right, and the center one keeps the needle in the center of the pressure foot. I typically like to have it in the middle but there may be situations where you want to change it for part of the project your working on.
Stitch Width
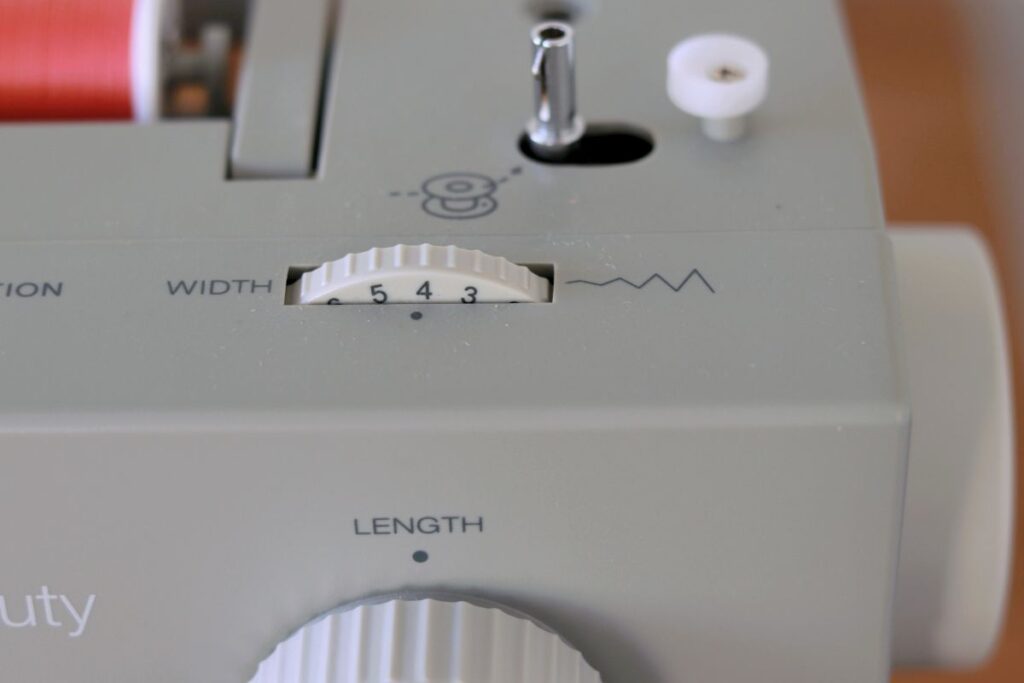
The stitch width determines how wide your zigzag stitches or decorative stitches are. For example, if you set the stitch width to a lower number your zigzags will be small. If you set it all the way to 6 you will have very wide zigzags. If you’re using a straight stitch this won’t matter much but you want to make sure you set it to the width you want before you start sewing zigzags.
Stitch Length
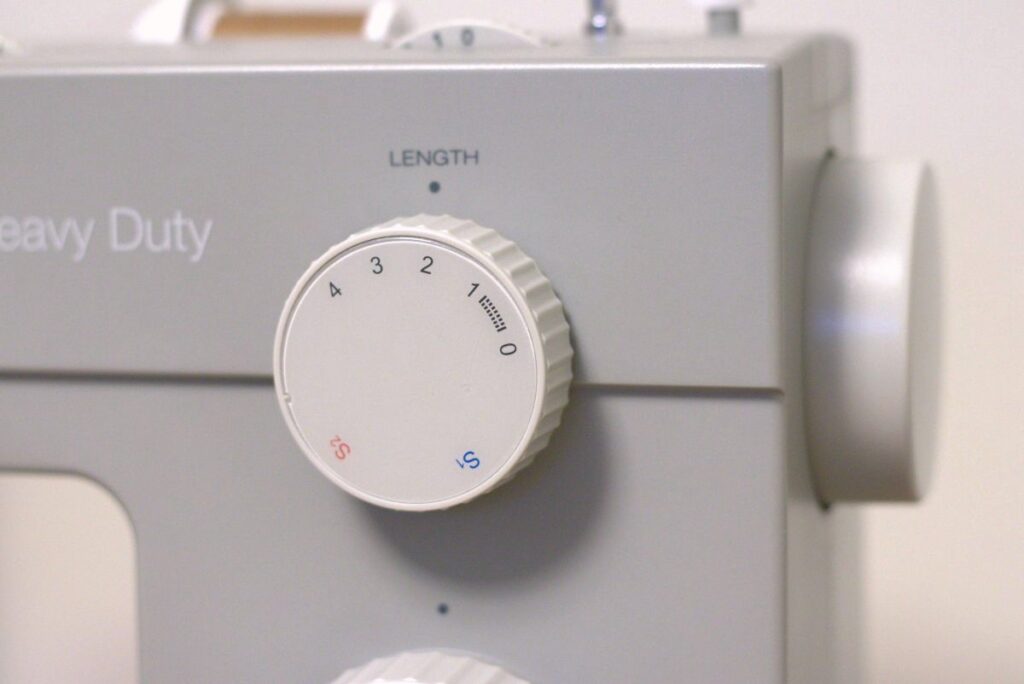
Stitch width is how wide your stitches are and stitch length is, you guessed it, how long your stitches are. What does this mean though? When you sew with a small stitch length, like 1, your stitches will be short and close together. When you go to the longest length, 4, they will be long and further apart. You’ll use the longest stitch length for sewing basting stitches or gathering stitches for gathering your fabric. If you set it to 0 your machine won’t move the fabric and you’re needle will go up and down in the same spot. For regular sewing you’ll keep your stitch length at 2.5 and adjust it depending on what you’re working on.
Mine also has a length setting dedicated to buttonholes. You may or may not have this on your machine, though it should have a way of making buttonholes even if it’s a bit older. You can refer to your manual for which settings you need for making buttonholes.
Stitch Type
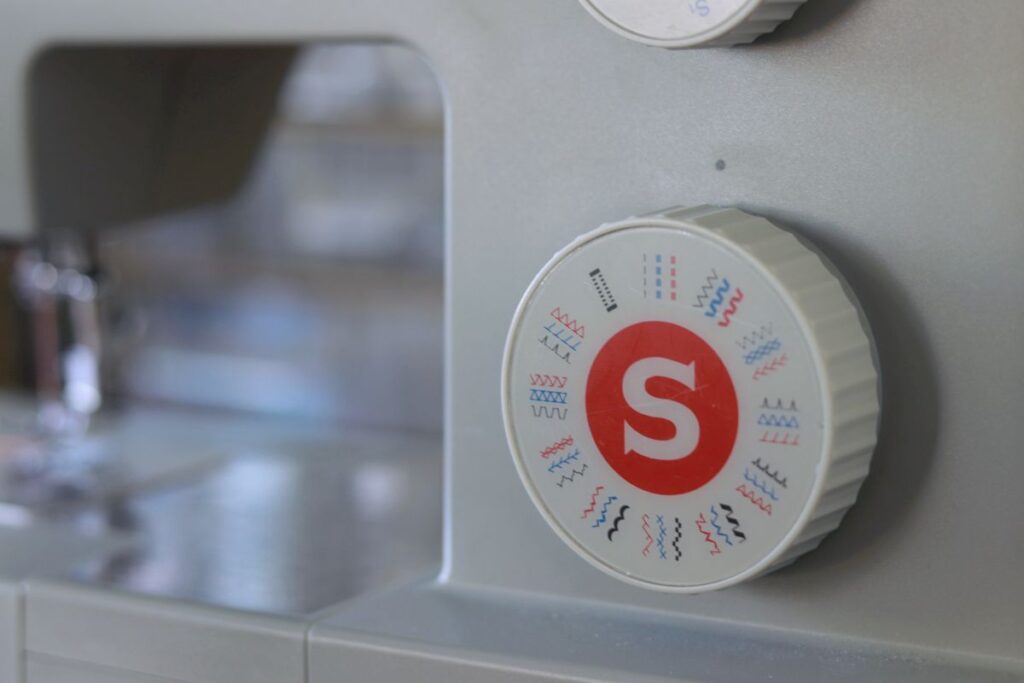
This is the fun setting where you get to choose your stitches. In most cases you’ll use the straight stitch with the occasional zigzag or buttonhole stitch. You may also have some decorative stitches to choose from. This setting is pretty self explanatory. The machine usually has a picture of what the stitch looks like on or above where you select that stitch.
Get to know your machine
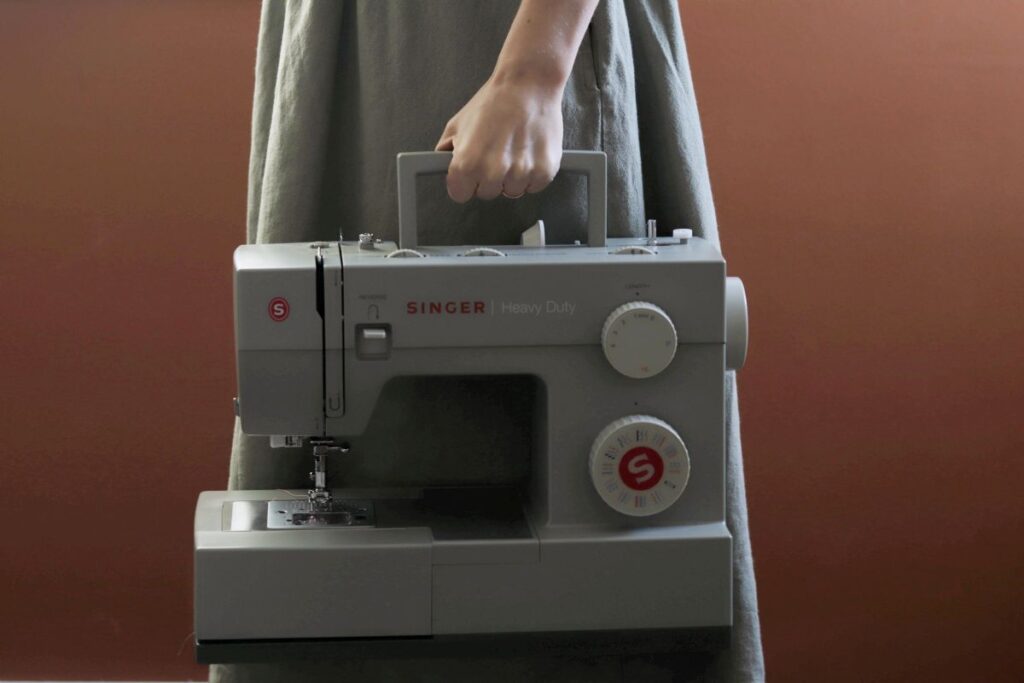
The best why to get to know what each setting on your machine does is to test it out. Grab some scrap fabric and play around with the different stitch types, changing your stitch length and width so you can see for yourself exactly what it does. The more familiar you are with your machine the more effortless sewing will be for you, and the better your projects will turn out.