Sewing tools for beginners
This post contains affiliate links. If you use one of my links and purchase something I may earn a commission – at not extra cost to you. You can read my disclosure policy here.
When you first start sewing, something you’ll probably notice pretty quickly is how many sewing tools and gadgets there are. Big fabric scissors, small snip scissors, rotary cutters, pins galore, different types of measuring tapes….it can be a bit much. The problem is how are you supposed to know which ones you need and which ones are just nice to have? Are any of them really necessary?
While most sewing tools aren’t essential there are a few you should have if you want your sewing to turn out (which if you’re here I’m assuming you do). I’ll share with you a list of the foundational sewing tools, the ones you really do need for your sewing, and also explain how to use them. As you go you can slowly start adding other helpful but less essential tools to your collection.
sewing tool essentials
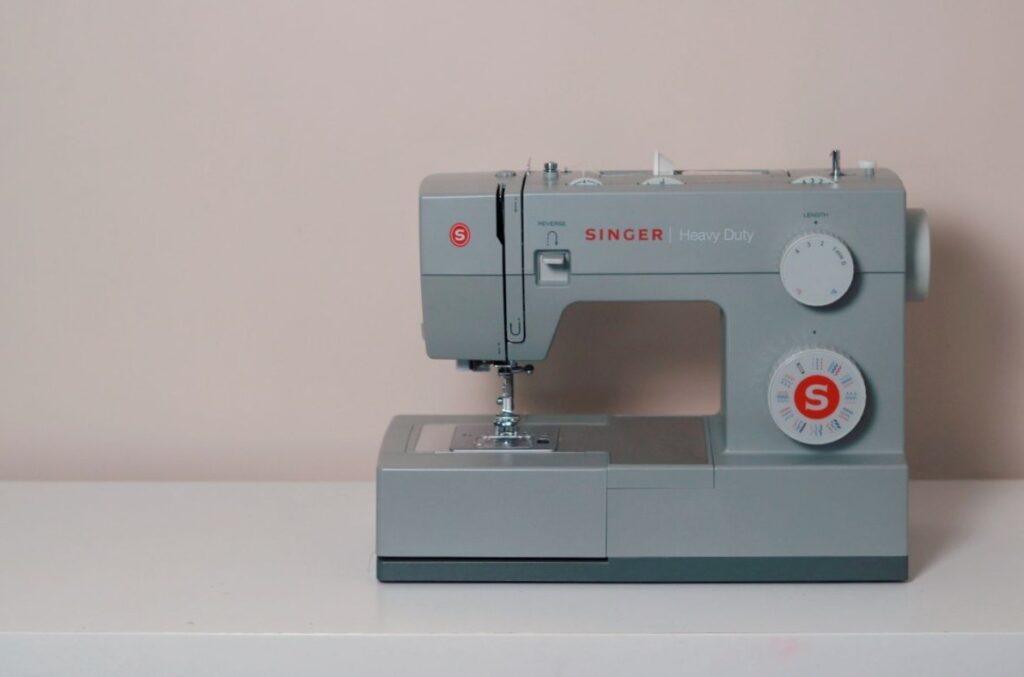
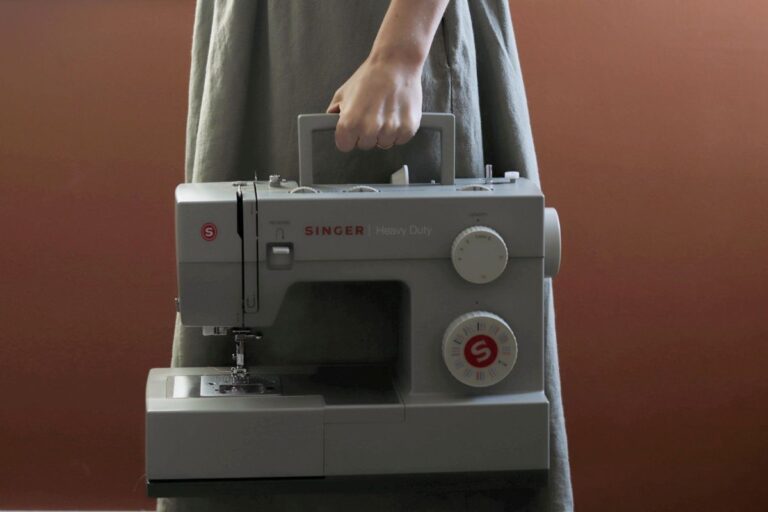
Sewing Machine
I know, this one is pretty obvious but you really can’t sew clothes without a sewing machine. I mean, I guess you could hand sew them but most of us probably don’t have the time or the patience for it.
In this post I talk all about finding a sewing machine if you’re just starting out and what to look for. You can head over and check it out for more information but basically you’ll need a machine that has a straight stitch and zigzag stitch. The other settings are great but not necessary so if your machine is older and doesn’t have them, don’t worry, you’ll still be able to sew just fine.

Fabric Scissors
As with most sewing tools you have lots of options when it comes to fabric scissors. You could start out with a cheaper pair, like I did, and upgrade a little further along or you can go straight for the more expensive, higher quality ones. My cheap ones were not as nice to use as the good pair I have now but you don’t have to start with the best if you’re on a budget.
There is one rule with fabric scissors: never use them on anything but fabric. No cutting your paper patterns with these! Using them on paper can dull the blade and cutting over tape can cause sticky residue to build up on them, keeping them from cutting your fabric properly. Cutting fabric with a nice sharp pair of fabric scissors is so satisfying, don’t ruin the experience by wrecking them on paper!

Measuring Tape
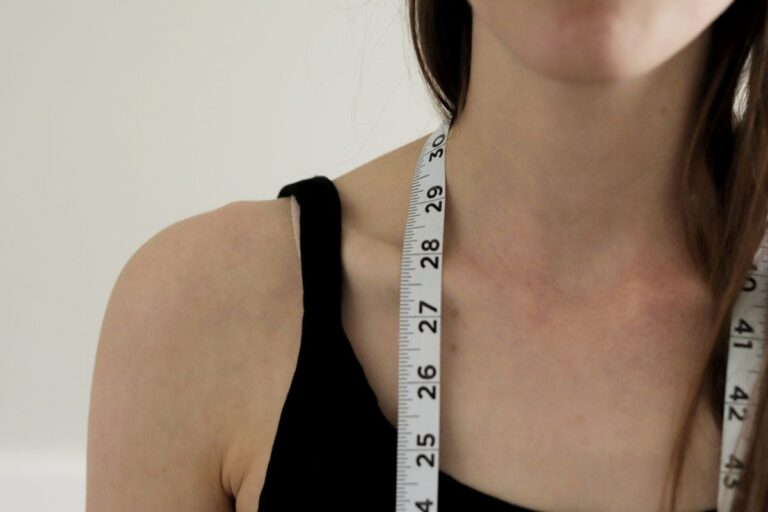
Before you pick a size for a pattern you’re going to want to match your measurements with the listed measurements for the pattern. A measuring tape is how you figure out what your measurements are.
You can use a measuring tape for more than just measuring yourself though. I also use mine to check my hem lengths when pressing them to make sure they’re even and match the pattern instructions. I also use it when measuring to cut out fabric for bias binding or for ruffles. You’ll find there are a number of situations where you’ll want to have your measuring tape on hand.
There are different kinds of measuring tape too. I have both a regular one and one that you pull out and it retracts into a little case. The type you get is really up to what you prefer.
(If you’re unsure how to properly measure yourself you can check out this post where I go into detail on the 3 most common areas listed in patterns and how to accurately find your measurements.)

Seam Ripper
This little tool will be your best friend, especially if you are a beginner. If you sew a seam and then realized you’ve made a mistake and need to undo what you just did, your seam ripper is how you will do it.
The curved inside of the seam ripper is sharp and will cut, or rip, your stitches out. You can use the long end to hook and unpick your stitches, or you can put the end with the red ball into your seam and rip the seam out. Check out this short video to see how this is done! This can be a little tricky as a beginner though and if the stitches don’t want to rip out and you pull too hard you could end up cutting into your fabric and creating a hole.
It can be really frustrating when you need to use this tool but it also is extremely helpful!

Pins
How would you keep your layers of fabric together to sew them without any pins? You may get advanced enough at some point that you only need a few pins, but as a beginner you want to utilize your pins to make sure your projects turn out. There are also little clips you can get to hold your fabric layers together but those work best on thicker fabrics where the pins may struggle holding everything together. For the fabrics you will be using when you start out, and for the fabrics you will likely use the most, pins are the way to go.
All my pins have a colored head on them and I find this really helpful for seeing where they are in my fabric when sewing. There are plastic heads and glass heads, which may not seem to matter except that you can press over glass headed pins but your plastic ones will melt if you try to do this.
You can find a variety of different ways to store your pins as well. Pin cushions are some of the most common. You can also find magnetic pin holders to keep them on while you’re sewing. I have a little plastic case that I keep mine in, and you can choose whichever would work best for you. It helps to have somewhere to put them so you don’t end up with loose pins lying around.

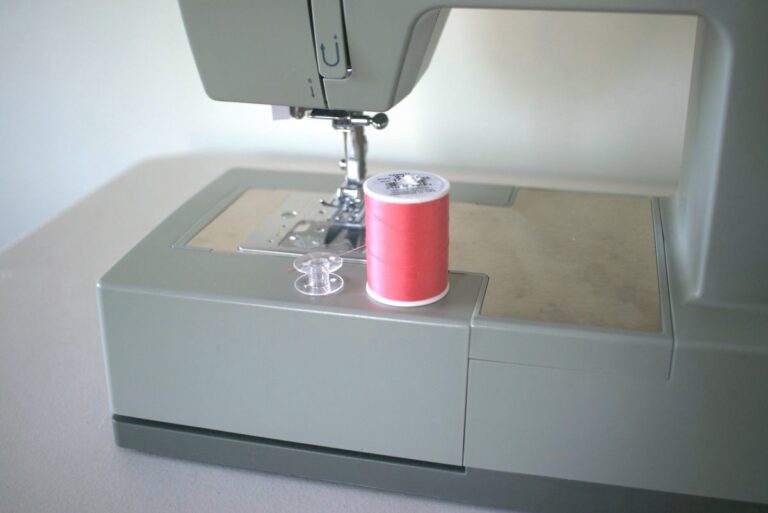
Bobbins
When you change the thread in your sewing machine and start using a new spool you’ll need to wind the thread from the spool onto a bobbin. You want to make sure you use the same thread on the top as on the bottom of your sewing. Your machine has a bobbin winder for winding the thread onto the bobbin for you. If you don’t know how to do this you can go to this post where I walk you through all the steps to threading your sewing machine, including winding a bobbin with your thread.
Because you’ll be winding a bobbin each time you start using a new color of thread in your machine you’ll want to have some empty bobbins handy. If you’re unsure what type of bobbin to use in your machine (yes, there are different kinds!) I talk more about that in the post about threading your sewing machine, so be sure to check it out!
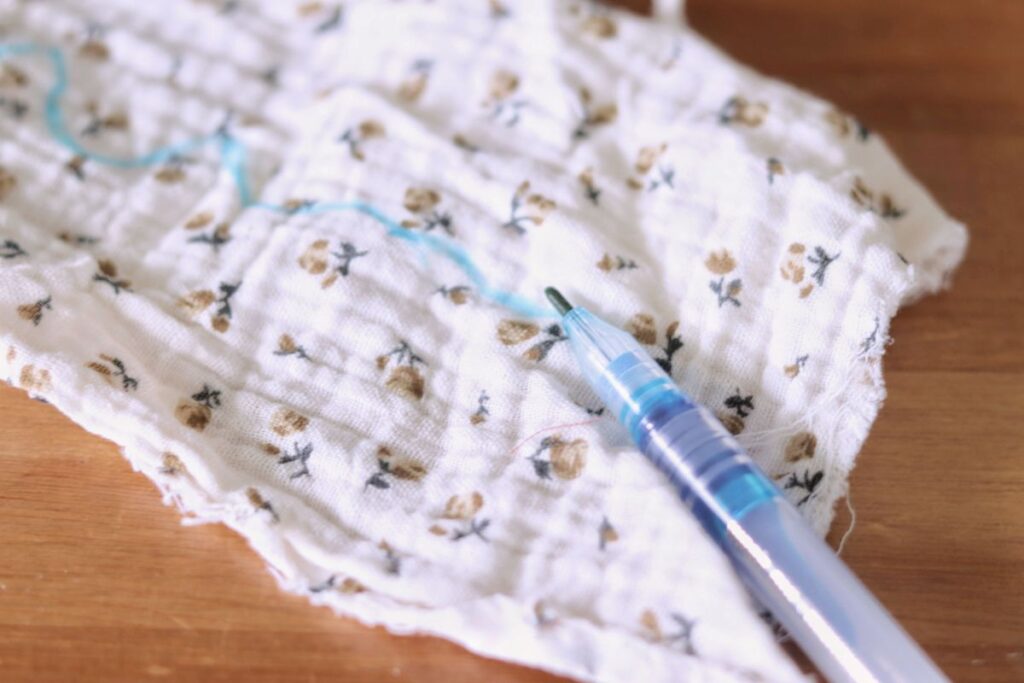
Water Erasable Pen or Tailor’s Chalk
When transferring markings from a pattern to your fabric you’re going to need something to mark with. You could get some tailor’s chalk or you can get a water erasable pen. It works like a marker but when you apply water to the area you marked it disappears. I love my water erasable pen and find it so easy and convenient. The only thing is that it doesn’t show up well on darker fabrics so, if you decide to go with the water erasable pen, you may want to have some backup tailor’s chalk for those dark coloured fabrics.

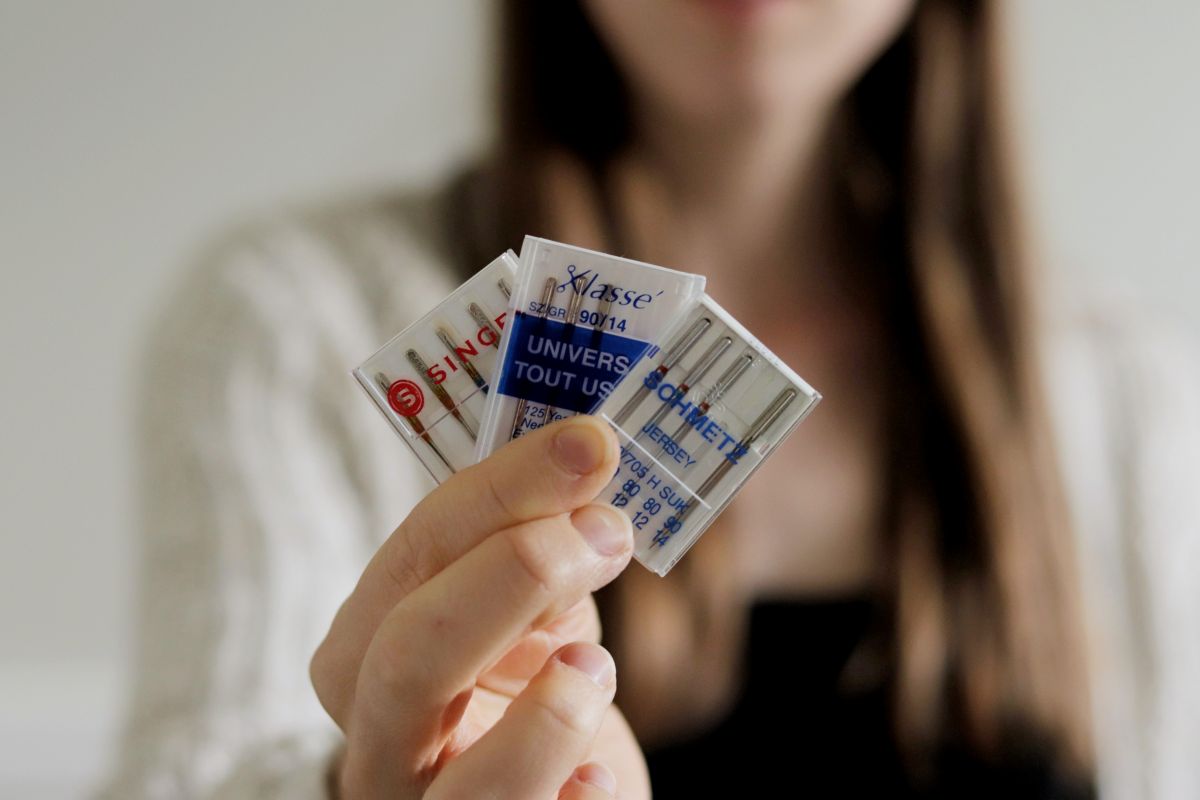
Proper Needles
Before you start sewing a project make sure you have the right needle in your machine! Different fabrics require different needles and using the wrong one could cause skipped stitches or, worse, your needle to break. Your manual should have a guide for you to refer to on which needles to use for which fabrics. Basically the smaller the number of needle, the lighter the fabric you use them on. The big numbers, like 16 (100) are for heavy fabrics.
Then there are also needle types. A universal is the most common one and probably what you will use most often. If you are sewing with denim though, you will want to get a denim needle to get through that thicker fabric. Or if you’re sewing with knit or stretchy fabrics you’ll need a ball point needle that won’t pierce and ruin your fabric.
You can check out this video to learn more about sewing machine needles and which ones to use when.

Iron and Ironing Board
You cannot sew beautiful handmade clothes without an iron. Pressing your seams helps them sit nicely and melds your threads into the fabric. Skipping the pressing step is often what leads to your pieces looking homemade vs handmade. You may already have an iron for ironing your clothes. If not, you’ll want to go out and get one. You do not want to start sewing if you do not have an iron to press your seams with!

Safety Pins
If you’re not planning to sew anything with elastic than this isn’t important for you to have on hand. But, if you’re like me and love having clothes with elastic for a better fit and extra comfort, then you’ll need some safety pins. When adding elastic to your clothing projects, you’ll create a channel for the elastic to go into. The safety pin in how you’ll get the elastic in and through the entire channel. Having some different sizes is great too in case you have a larger or smaller channel you’re working with.
There are so many other tools out there but if you have these, you’ll be set to start your sewing journey! Enjoy the process of slowly adding to your collection over time and filling your sewing basket with tools that help you improve your sewing. Best of luck on your sewing journey!